
Last updated October 16, 2026
 Water damage drying
 Fire & smoke cleanup
 Mold remediation
 Storm response
 Sewage cleanup
 Reconstruction
Free visual inspection and a written scope of work before any mitigation begins - photos, moisture readings, and drying logs go in your claim file
The scope we write is the scope we bill. Anything new gets shown to you, in writing, before we touch it.
Get your free estimateThe Complete Guide to Damage Restoration in San Diego
San Diego’s reputation for perfect weather hides a truth every local homeowner eventually learns: our marine layer, aging slab foundations, and 1950s-to-1970s construction stock create moisture conditions that turn a slow drip under a sink into a structural problem faster than almost any other major U.S. city. This guide walks you through the entire restoration process in San Diego, from the moment you first feel a wet carpet to the final clearance test, so you’re never making decisions blind while a mitigation crew waits in your driveway. You’ll learn the five water damage categories, how drying actually works in our coastal humidity, what a legitimate written scope looks like, and how photo documentation protects your insurance claim. By the end, you’ll know exactly what questions to ask and what answers to demand.
Restoration work we handle
Quick Answer
Damage restoration in San Diego follows a defined sequence: assessment, water extraction, structural drying with professional equipment, antimicrobial treatment, and rebuild. For a detailed breakdown, see our Damage Restoration Cost Breakdown: The San Diego Homeowner’s Reference for 2026; costs for water damage restoration typically range from $1,200 to $4,500 depending on the damage category and affected square footage, and the full process takes three to seven days for drying plus additional time for any rebuild work. A legitimate restoration company puts the price in writing before any equipment is placed, documents every phase with photos, and follows IICRC drying standards so you know the job was done right.
Table of Contents
- The Five Water Damage Categories and What They Mean in San Diego
- How Psychrometric Drying Works in San Diego’s Marine Layer
- The Full Restoration Sequence: From First Call to Final Walkthrough
- What a Legitimate Written Scope of Work Looks Like
- Photo Documentation: Your Insurance Claim’s Best Friend
- What Damage Restoration Costs in San Diego, Phase by Phase
- Realistic Timelines for San Diego Restoration Projects
- Common Mistakes to Avoid
- When to Call a Professional
- Frequently Asked Questions
- The Bottom Line
The Five Water Damage Categories and What They Mean in San Diego
The IICRC (Institute of Inspection, Cleaning and Restoration Certification) classifies water damage into categories that determine how a restoration company must handle the job. San Diego’s housing stock makes some categories far more common here than elsewhere, and our coastal construction types affect drying timelines in specific ways.
Category 1: Clean Water. This is water from a sanitary source: a burst supply line, a leaking faucet, a water heater that failed from the top. It’s the least urgent category, but only if addressed within 24 to 48 hours. After that window, bacteria multiply and the water degrades to Category 2. In San Diego’s slab-foundation homes, Category 1 water from a slab leak travels upward through concrete and under flooring, which means the drying footprint is often larger than what’s visible on the surface.
Category 2: Gray Water. Water from washing machines, dishwashers, or sump pump failures falls here. It carries significant contamination and requires antimicrobial treatment after extraction. San Diego’s older Mission Valley and Clairemont homes with original plumbing are disproportionate contributors here, simply because aging appliances and drain lines fail more often than newer construction.
Category 3: Black Water. Sewage, floodwater, toilet overflows with waste, or any water that has sat long enough to grow bacteria. Category 3 requires full containment, disposal of affected porous materials, and aggressive antimicrobial treatment before any rebuild can begin. This is the category where speed matters most. In San Diego, a Category 3 event in a slab home often means removing flooring, drywall, and possibly base cabinetry, because contaminated water wicks into concrete and gypsum faster than most people realize.
Category 4: Class 4 Deep Saturation. This refers to materials with low permeance, like hardwood flooring, plaster, and concrete, that require specialized drying techniques. San Diego’s older Craftsman homes in North Park and South Park often have plaster walls and original hardwood, which absorb water slowly and release it even more slowly. Class 4 drying requires low-humidity drying chambers and specific equipment like the Injectidry system for hardwood floor panels.
Class 1 through Class 4 (Drying Classification). Separate from the contamination categories, the IICRC also classifies drying difficulty by how much water the affected materials hold. Class 1 means minimal absorption in a small area. Class 4 means deep saturation in hard-to-dry materials, like the slab foundations common throughout San Diego County. A Class 4 concrete slab takes days longer to reach the drying goal than a Class 1 drywall patch in a closet.
Here’s the key San Diego-specific fact: our concrete slab foundations are porous and hold water long after the surface looks dry. A moisture meter reading is the only reliable way to know a slab is truly dry, and we’ve seen homeowners rush to rebuild over a slab that still read 17% moisture content at the surface. That’s a guaranteed mold problem six months later.
How Psychrometric Drying Works in San Diego’s Marine Layer
Psychrometric drying is the science of tracking the air’s moisture level, temperature, and airflow so we know when your home is truly dry, not just surface-dry. It’s the difference between a restoration job that holds up for twenty years and one that starts peeling paint and growing mold eight months later.
San Diego’s climate creates two distinct drying environments, and the same storm produces different recovery timelines depending on where you live. In Pacific Beach, Ocean Beach, and Point Loma, the marine layer keeps relative humidity between 70 and 85 percent for much of the year. High ambient humidity slows evaporation because the surrounding air is already close to saturation. Restoration crews working in coastal San Diego must run dehumidifiers longer and more aggressively than crews in El Cajon or Santee, where inland valley heat and lower humidity accelerate drying. A water event in Pacific Beach might take five to six days to reach the drying goal, while the same event in El Cajon reaches it in three.
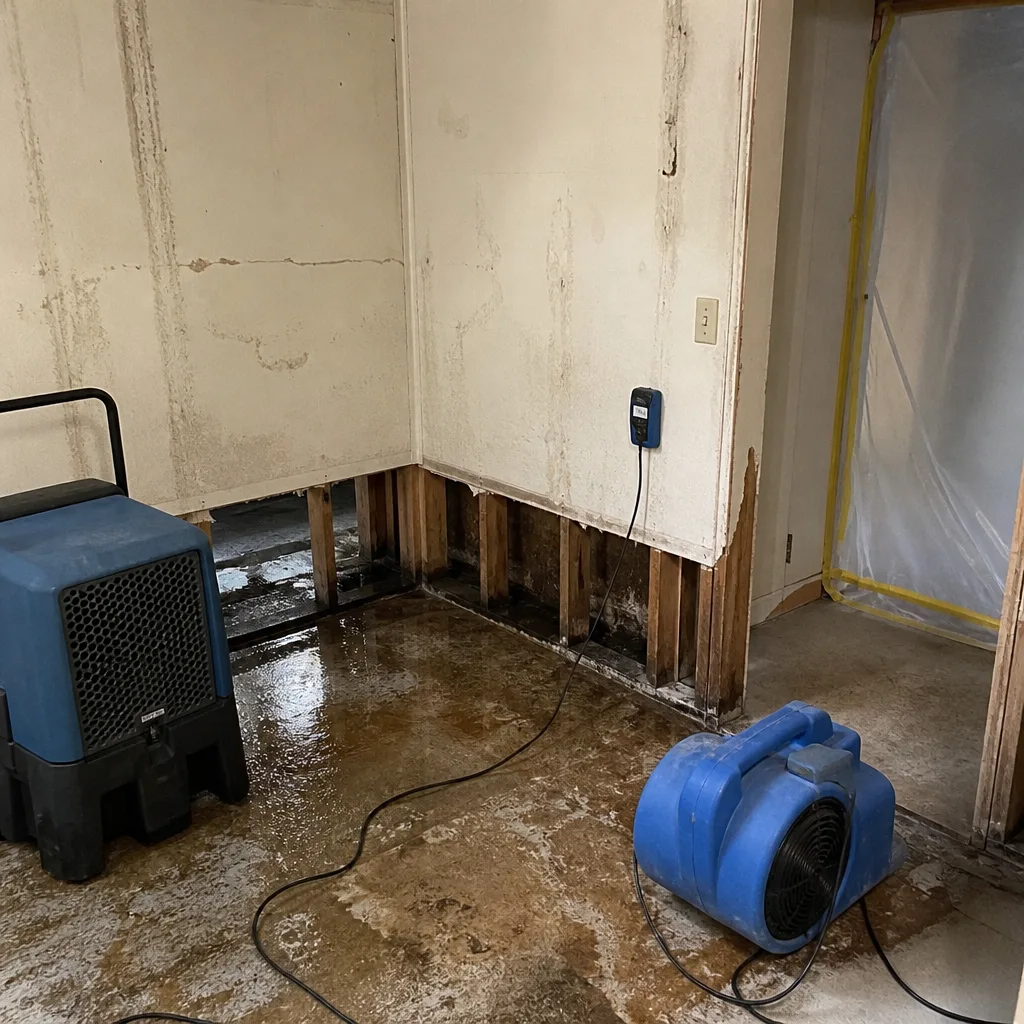
The drying process itself follows a defined sequence. First, extraction removes the bulk water, typically 90 percent or more, with truck-mounted or portable extraction units. Second, air movers create airflow across wet surfaces to lift moisture into the air. Third, dehumidifiers pull that moisture from the air and discharge it as condensate. Fourth, the restoration technician monitors moisture content daily with penetrating and non-penetrating moisture meters, adjusting equipment placement based on the readings.
The equipment matters more than most homeowners realize. Professional-grade drying systems from manufacturers like Phoenix and XPOWER move significantly more cubic feet of air per minute than rental units from a hardware store. A single Phoenix R200 dehumidifier removes up to 135 pints of water per day at AHAM conditions, while a typical consumer-grade unit available for rent manages 30 to 50. That gap is the difference between a three-day dry-out and a seven-day dry-out, and every extra day of wet materials is another day of microbial growth.
For hardwood floors, the process is even more precise. Injectidry panel systems attach to individual floor panels and pull moisture from between the boards, which prevents cupping and warping that would otherwise require full floor replacement. This is standard practice on commercial loss sites and it should be standard on your San Diego home, too.
The Full Restoration Sequence: From First Call to Final Walkthrough
Restoration follows a defined protocol that sanitizes the site and stabilizes the structure before any rebuilding happens. Here’s the complete sequence, in order, so you know what each phase involves and which ones require a licensed contractor.
- Initial Assessment and Safety Check. The restoration company inspects the affected area, identifies the water source, tests the water category, and checks for electrical hazards. This phase takes 30 to 60 minutes and should be documented with photos. The source must be stopped before anything else happens. In San Diego homes, this often means shutting off the main water valve, cutting power to the affected circuit, or tagging out an appliance.
- Water Extraction. Professional extraction removes the bulk of standing or trapped water. Truck-mounted units are used for larger losses; portable extraction works for smaller areas. This is often the loudest phase and usually happens the same day the crew arrives. Extraction alone cuts drying time by days versus air drying.
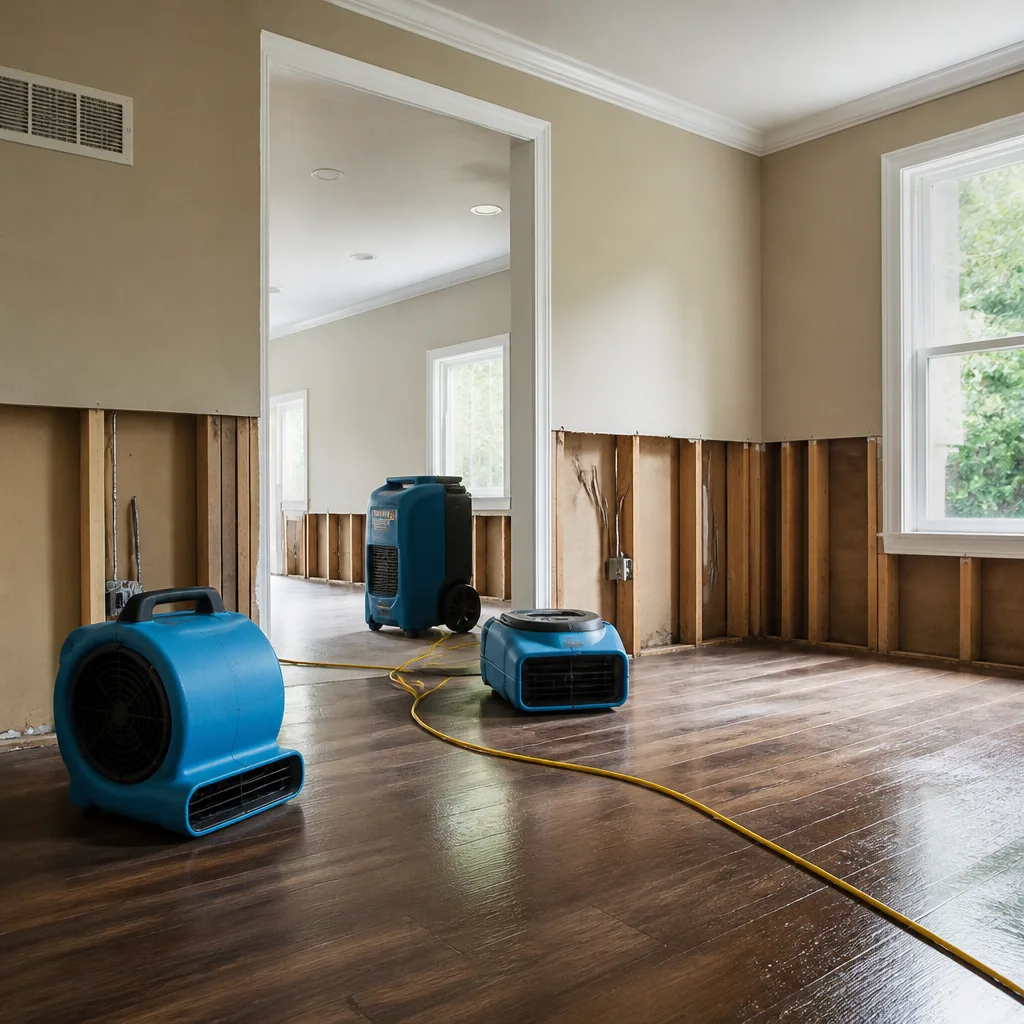
- Structural Drying. Air movers and dehumidifiers are placed in a calculated pattern based on the floor plan and affected materials. The equipment runs 24 hours a day until moisture readings across all affected materials reach the drying goal, typically 8 to 12 percent for wood, 4 percent or below for concrete slabs where flooring will be reinstalled. A San Diego restoration job in a slab home averages four to six days of equipment runtime.
- Antimicrobial Treatment. Once materials are dry, affected surfaces are treated with an EPA-registered antimicrobial to prevent mold growth. This is a requirement for Category 2 and 3 water events, and a recommended safeguard for Category 1 events that went untreated for more than 24 hours. The treatment is typically sprayed or fogged onto studs, concrete, and other structural surfaces before new drywall and flooring go in.
- Demolition and Debris Removal. Damaged drywall, insulation, carpet, pad, and trim are cut out and removed. Containment is set up if mold or sewage is present, with negative air pressure to prevent cross-contamination to unaffected rooms. In San Diego homes built before 1980, this phase requires extra care around potential asbestos in old flooring adhesive or drywall compound, and lead paint in older layers.
- Verification and Documentation. A second moisture survey confirms the structure meets the drying goal. Photos document the dried, sanitized condition before rebuild begins. This is the point where a legitimate company hands you a written summary of what was removed and what needs to be rebuilt.
- Rebuild and Finish. New drywall, paint, flooring, and trim are installed. This phase is scoped, scheduled, and priced in writing like a remodel, not an emergency. Depending on the extent of the damage, rebuild takes anywhere from three days for a small bathroom to three weeks or more for a full kitchen or multiple-room loss. Some damage restoration companies handle rebuild in-house; others hand off to a licensed general contractor. The key is that the rebuild scope is agreed upon in writing before any demolition debris gets hauled away.
Homeowners can observe the first six phases; they should not perform them. Structural drying, electrical disconnects, and contaminated material removal carry genuine injury risk and require trained crews. But you should be present for the assessment, review the photo documentation, and sign off on the written scope before the work continues past extraction.
What a Legitimate Written Scope of Work Looks Like
A legitimate restoration company puts the price in writing before any work starts. The scope is the contract, and it should include line items specific enough that you could hand the same document to a second company and get a comparable bid. Most restoration estimates we’ve reviewed in San Diego are missing three things, and those omissions are where the final bill grows.
The three things missing from most San Diego restoration estimates:
- Equipment rental line items with daily rates. Many companies bill air movers and dehumidifiers at a flat “per job” rate that does not itemize how many days the equipment runs. You’re entitled to know the daily rate per unit and how many units will be placed. A typical San Diego three-room loss uses 8 to 12 air movers and two to three dehumidifiers for four to six days.
- A written drying goal, not a vague “we’ll dry it” promise. The scope should state target moisture levels by material type: under 12 percent for wood, under 4 percent for concrete slabs. Without a written goal, the company can pull equipment early and call the job done while your slab is still wet.
- The antimicrobial treatment line item, specified by product and coverage area. Some scopes say “treat affected area” without naming the chemical, the coverage method, or the square footage. Demand the product name (it’s EPA-registered and the label is public) and the area it covers.
A complete scope also includes the demolition line items (linear feet of drywall cut, square yards of carpet removed, linear feet of baseboard), the containment setup, the number of monitoring visits, the dump fees, and the rebuild estimate as a separate, clearly labeled section. Everything is priced. Nothing is “to be determined later.” That phrase is a red flag.
San Diego restoration projects have historically suffered from the same practice that gives the industry a bad name: lowballing the initial number, then padding the invoice with supplemental charges that were never approved. The fix is already in your hands. Refuse any scope that is not itemized to the line-item level. Refuse any company that will not put it in writing before equipment gets placed. And keep the digital copy. If your bill arrives and the price is different from the number you were sent, you have the document to dispute it.
Photo Documentation: Your Insurance Claim’s Best Friend
Photo documentation at every phase protects two things: your insurance claim and your right to dispute final charges. The sequence of photos tells a story the adjuster can follow without ever visiting the site, and a complete photo set is often the difference between a claim paid in full and a claim reduced by a skeptical adjuster who cannot see what was actually done.
Photos you should have from every phase:
- Pre-extraction: standing water, affected materials, the source of the water, water level marks on walls or cabinets.
- Post-extraction: the same angles showing the water removed and materials exposed, with any visible saturation staining on concrete or drywall.
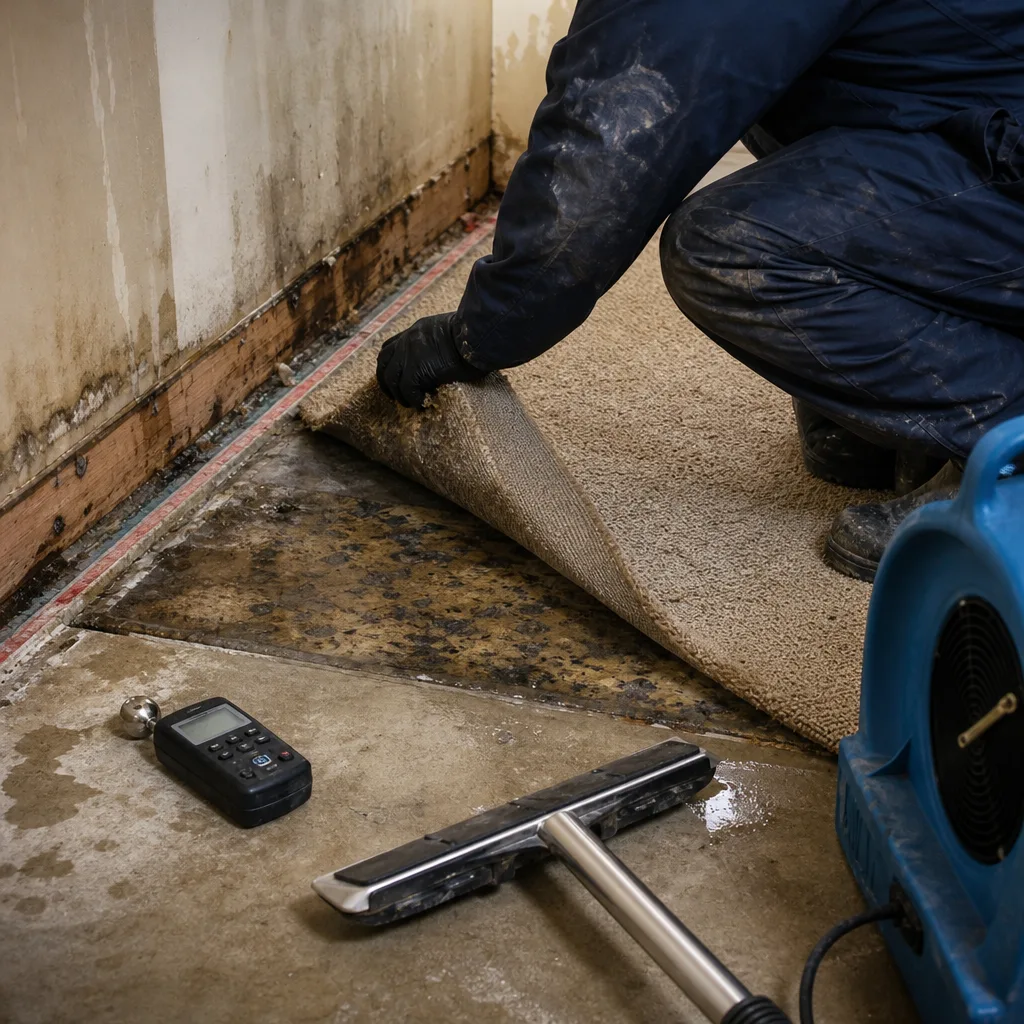
- Equipment placement: air movers in position, dehumidifiers connected, any containment barriers, the monitoring equipment or moisture meter being used.
- Daily moisture readings: either the meter screen showing the reading or a written log with date, time, and location. This proves the structure reached the drying goal, not just that equipment ran for four days.
- Post-antimicrobial treatment: treated surfaces before new drywall goes up. This photo proves the sanitization step happened, which matters if a mold claim is disputed later.
- Final rebuild: completed work to the same angles as the pre-loss photos, so the adjuster sees a before-and-after comparison.
The water damage restoration process in San Diego generates dozens of photos per job when done correctly. A restoration company that does not offer photo documentation by text or email during the job is not following the IICRC standard, which requires written and photographic documentation of the drying process. You should never have to ask for the photos. They should arrive automatically at each phase, with a link you can open from your phone.
For insurance claims, the photo sequence is your strongest evidence if the adjuster questions the scope. An adjuster sees the post-extraction photo with water staining extending four feet up the drywall and immediately understands why that drywall came out. Without the photo, you’re asking them to take someone’s word for it, and insurance adjusters are trained not to do that.
What Damage Restoration Costs in San Diego, Phase by Phase
San Diego restoration pricing reflects our cost of living, our construction types, and the equipment intensity of structural drying; for Damage Restoration Permits, Codes & Inspections in CA: What You Need to Know, check our related guide. Here’s what you should expect, phased so you can see where each dollar goes. These are ranges based on our experience serving San Diego County since 2006; your specific scope will vary by square footage, damage category, and accessibility.
- Assessment and moisture survey: $150 to $300. Some companies waive this fee if you hire them for the work. Others charge it regardless. A company that charges for the assessment but provides a written scope and photo documentation is worth it; a company that charges for the assessment and then gives you a one-line estimate is not.
- Water extraction: $300 to $1,200 depending on affected square footage and whether a truck-mounted unit is required.
- Structural drying (equipment and monitoring): $800 to $2,800. This is the phase where equipment rental rates, number of units, and days of runtime determine the total. A three-room loss in San Diego typically runs four to six days at $150 to $250 per day in equipment and monitoring costs.
- Antimicrobial treatment: $200 to $600. The cost scales with affected square footage and whether containment is required.
- Demolition and debris removal: $400 to $1,500. Includes cutting out drywall, pulling carpet and pad, removing trim, and hauling debris. San Diego dump fees are higher than most of the country, and that’s reflected here.
- Rebuild: $1,500 to $15,000 and up. A small bathroom rebuild with drywall, paint, and tile runs $1,500 to $4,000. A full kitchen with cabinets runs $8,000 to $15,000 or more. Rebuild is scoped like a remodel and priced in writing before work begins.
For comparison, the same three-room water loss in San Diego might total $2,500 for mitigation and drying, then another $4,000 to $6,000 for rebuild if flooring and drywall need to be replaced throughout. The total lands between $6,500 and $8,500 for a typical Category 1 event addressed within 48 hours. Category 3 sewage events run higher, often $10,000 to $18,000 all-in, because the demolition is more extensive and the antimicrobial requirements are stricter. Your insurance deductible is subtracted from the covered amount, and a good restoration company will bill your insurance carrier directly so you’re not floating the cash out of pocket.
Realistic Timelines for San Diego Restoration Projects
Timelines matter because every day of delay extends the disruption to your household. Here’s what a realistic schedule looks like in San Diego, phase by phase, assuming a typical three-room loss on a slab foundation.
- Day 1: Assessment and extraction. The crew arrives within hours of your call, assesses the damage, stops the source, and extracts standing water. Equipment placement begins the same day. This phase takes 2 to 4 hours on site.
- Days 2 – 5 or 6: Structural drying. Equipment runs continuously. Daily monitoring tracks moisture levels. Coastal San Diego homes typically need the longer end of this range due to marine layer humidity; inland homes reach the drying goal faster due to lower ambient moisture.
- Day 5 or 6: Verification and antimicrobial treatment. The moisture survey confirms the drying goal. Antimicrobial treatment is applied. Demolition of non-salvageable materials happens either on this day or the following day.
- Days 7 – 14: Rebuild. Depending on the scope, rebuild takes three to seven days for a typical project. Drywall installation, texture, paint, and flooring all have their own curing times. Paint needs a day to dry between coats. Flooring adhesives need time to set before traffic.
Total time from first call to move-back-in for a Category 1 water loss: seven to fourteen days. For Category 3: ten to twenty-one days, accounting for the additional demolition and containment time. For Water Damage Repair in San Diego projects where only a single room is affected, the timeline shrinks to as little as four days total if the rebuild is minor.
If a restoration company quotes you a faster completion for structural drying, ask how they plan to reach the drying goal sooner. The answer should reference equipment count and specific moisture readings, not vague confidence. Drying is a physical process with physical limits, and anyone promising a one-day dry-out is either using inadequate equipment or cutting corners on the monitoring.
Common Mistakes to Avoid
- Waiting a day or two to call. Category 1 water degrades to Category 2 within 24 to 48 hours. The longer you wait, the more expensive and extensive the restoration becomes. A call to a restoration company costs nothing; the call you don’t make costs thousands.
- Using rental equipment and hoping for the best. Hardware store dehumidifiers remove a fraction of what professional Phoenix and XPOWER units do. Rental units are designed for mild humidity control, not structural drying. You’ll run them for two weeks, still fail the moisture test, and end up calling a professional anyway.
- Accepting a scope with vague language. “Affected area will be dried and restored” tells you nothing. Demand line items, quantities, and daily rates. A legitimate scope reads like an itemized invoice before the work starts.
- Skipping the antimicrobial treatment. Some companies offer to save you a few hundred dollars by skipping this step. Don’t take the offer. Untreated Category 2 or 3 water is a mold problem waiting to appear, and mold remediation in San Diego costs far more than the treatment would have.
- Not photographing everything yourself. Even if the company documents, take your own photos with your phone. Your photos are your record, dated and time-stamped, independent of theirs. If there’s ever a dispute, your photo set is admissible evidence.
- Rebuilding before the structure is dry. The surface can feel dry while the concrete slab underneath still reads 20 percent moisture. Rebuilt drywall over a wet slab is a guaranteed do-over job within a year. Insist on seeing the moisture readings before rebuild begins.
- Not confirming direct insurance billing. Good restoration companies bill your carrier directly, handle the adjuster communication, and provide the photo documentation the claim requires. If a company wants you to handle the entire claim yourself, that’s a sign the process is going to be harder than it should be.
When to Call a Professional
Call a professional the moment you discover standing water, a slow leak behind a wall, or water staining on drywall or flooring-see Damage Restoration Warning Signs: A San Diego Homeowner’s Reference Guide to know what to watch for. The decision tree is simple. If the affected area is larger than a bath towel, a professional restoration company is your best move, because the water you cannot see is always more than the water you can. If the water came from a sewage source, if it has been sitting more than 24 hours, or if you see any visible mold growth, do not attempt any DIY remediation. Sewage and mold carry health risks and require containment, personal protective equipment, and professional antimicrobial treatment.
The same goes for any electrical involvement: water and electricity are a lethal combination, and standing water near outlets or appliances means cutting power at the breaker before anyone enters the affected area. Wendell Restoration San Diego offers free estimates throughout San Diego, with a written price before any work starts. Call (858) 988-6639 and speak with a live person, 24/7. We’ll give you a live technician arrival time you can track, not a four-hour window.
Frequently Asked Questions
Most water damage restoration projects in San Diego take seven to fourteen days from first call to move-back-in. Structural drying typically runs four to six days in coastal areas where the marine layer keeps humidity high, and three to four days in inland valleys like El Cajon or Santee. Rebuild adds another three to seven days depending on the scope. Call (858) 988-6639 for a timeline specific to your situation, and we’ll put it in writing before any work starts.
Most homeowner’s policies cover sudden and accidental water damage, including burst pipes, appliance failures, and water heater leaks, but not gradual seepage or pre-existing leaks. Flood damage from rising water is excluded under standard policies and requires separate flood insurance. The restoration company should provide photo documentation at every phase to support your claim and bill your insurance carrier directly. At Wendell Restoration San Diego, we document every phase and coordinate directly with your adjuster.
Restoration refers to the mitigation phase: extraction, structural drying, and antimicrobial treatment. Repair refers to the rebuild phase: replacing drywall, flooring, trim, and paint. Some companies handle both; others specialize in one. The distinction matters for your insurance claim because restoration is billed under your emergency services coverage while repair is billed as reconstruction. You want a company that handles both, so the transition from mitigation to rebuild is seamless and the scope never leaves one person’s hands.
Ask for the moisture readings. A professional restoration job includes daily moisture mapping with penetrating and non-penetrating meters, and the final reading should show wood below 12 percent and concrete slabs below 4 percent moisture content. Surface-dry is not dry. The slab and the wall cavities are where the trapped moisture lives, and only instruments can read them. If a company cannot or will not show you the readings, they are not following IICRC protocol and you should call someone else.
Not always, but the risk is real if water sat for more than 24 to 48 hours. Mold begins growing within that window in San Diego’s humidity. If the water event was Category 1 and extracted promptly, antimicrobial treatment after drying is usually sufficient prevention. If visible mold is present, or if the affected area remained wet for several days, professional mold remediation with containment and post-remediation clearance testing is the standard. Call (858) 988-6639 for an honest assessment of which path applies to your situation.
In most cases, yes. Category 1 and 2 water events typically allow you to remain in the home while drying equipment runs, though the noise level is significant. Category 3 sewage events, extensive mold remediation, or electrical hazards may require you to vacate until the affected area is contained and sanitized. Your restoration company should tell you upfront, in writing, whether the home is safe to occupy during each phase.
The Bottom Line
Damage restoration in San Diego follows a defined protocol, and knowing that protocol before a crisis hits saves you money, time, and stress. For more guides & resources on protecting your home, explore our blog. The sequence never changes: assess, extract, dry, treat, rebuild. What separates a good restoration job from a bad one is the documentation and the price transparency at every phase. Demand a written scope before any equipment gets placed. Demand photo documentation at every step. Demand moisture readings that prove the structure is dry, not just surface-dry. And remember that the marine layer in coastal San Diego genuinely slows drying times, so a company that paces the job with daily monitoring is doing it right, not dragging it out. If water damage hits your San Diego home, get a written price, a live arrival time, and photo updates by text. That’s the standard, and that’s the baseline every San Diego homeowner should insist on.
Written by Blake Sorensen, Owner at Wendell Restoration San Diego, serving San Diego since 2006.
See the difference
 Before
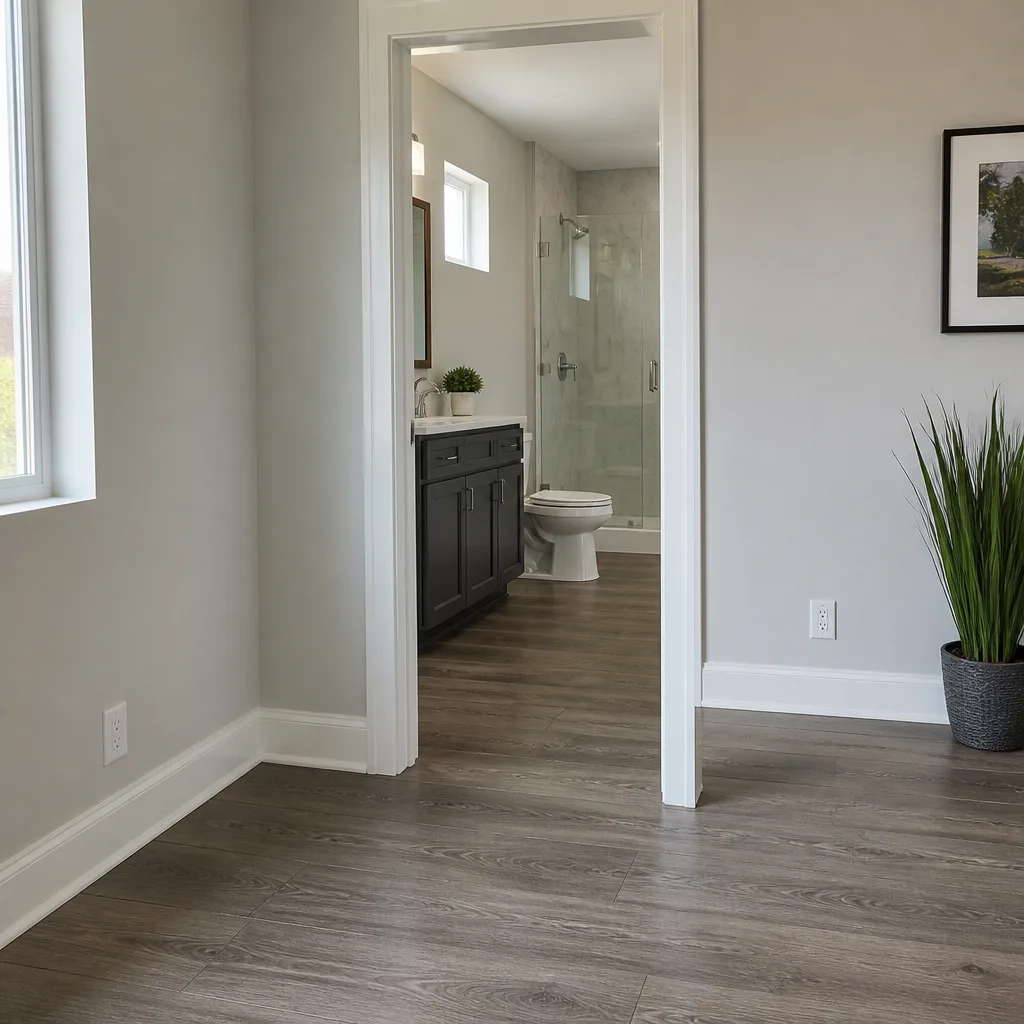 After
After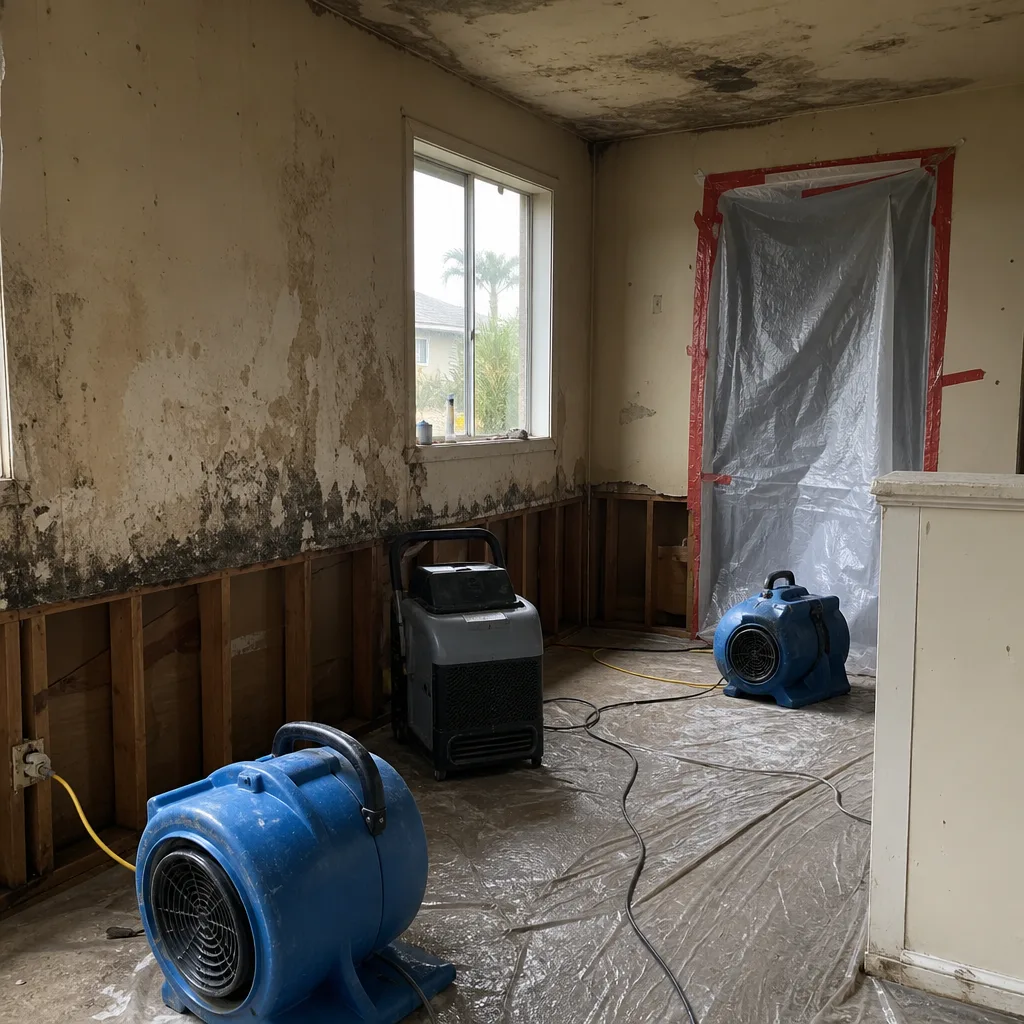 Before
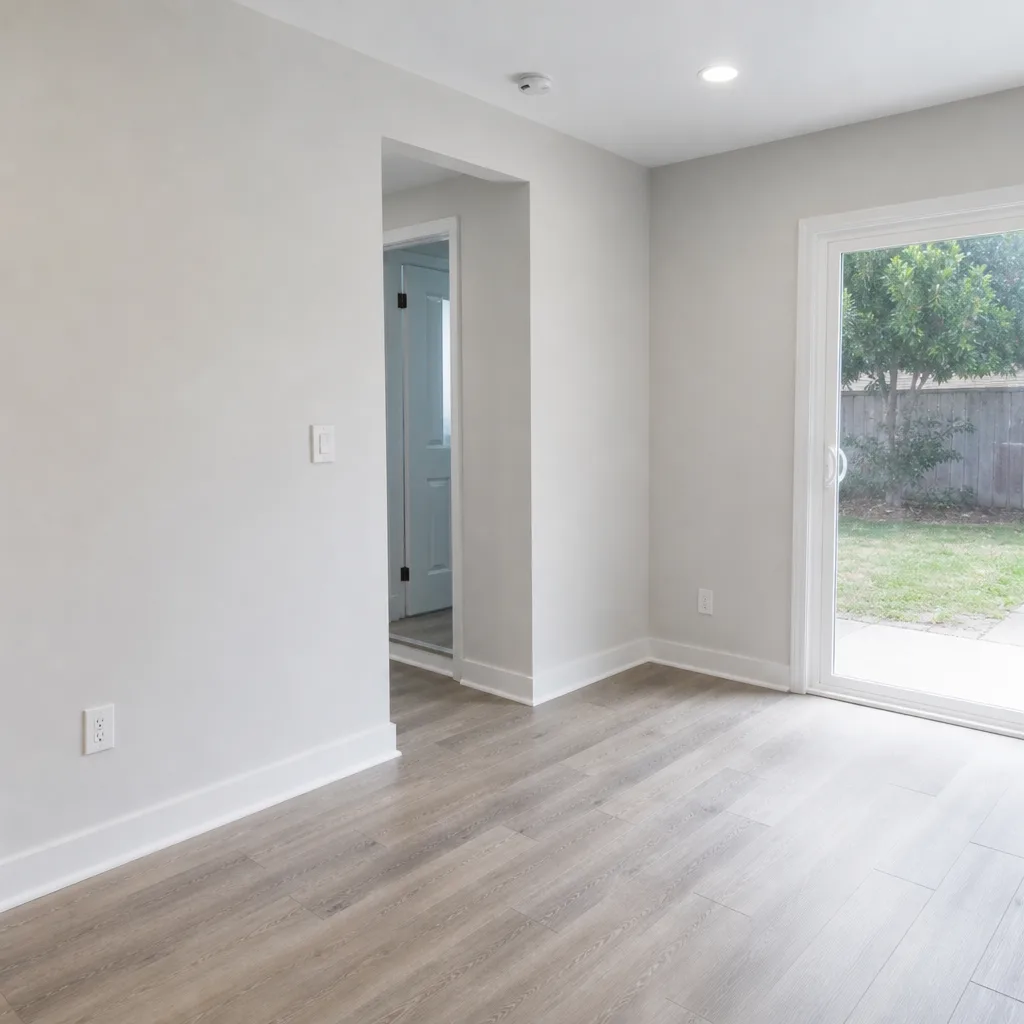 After
After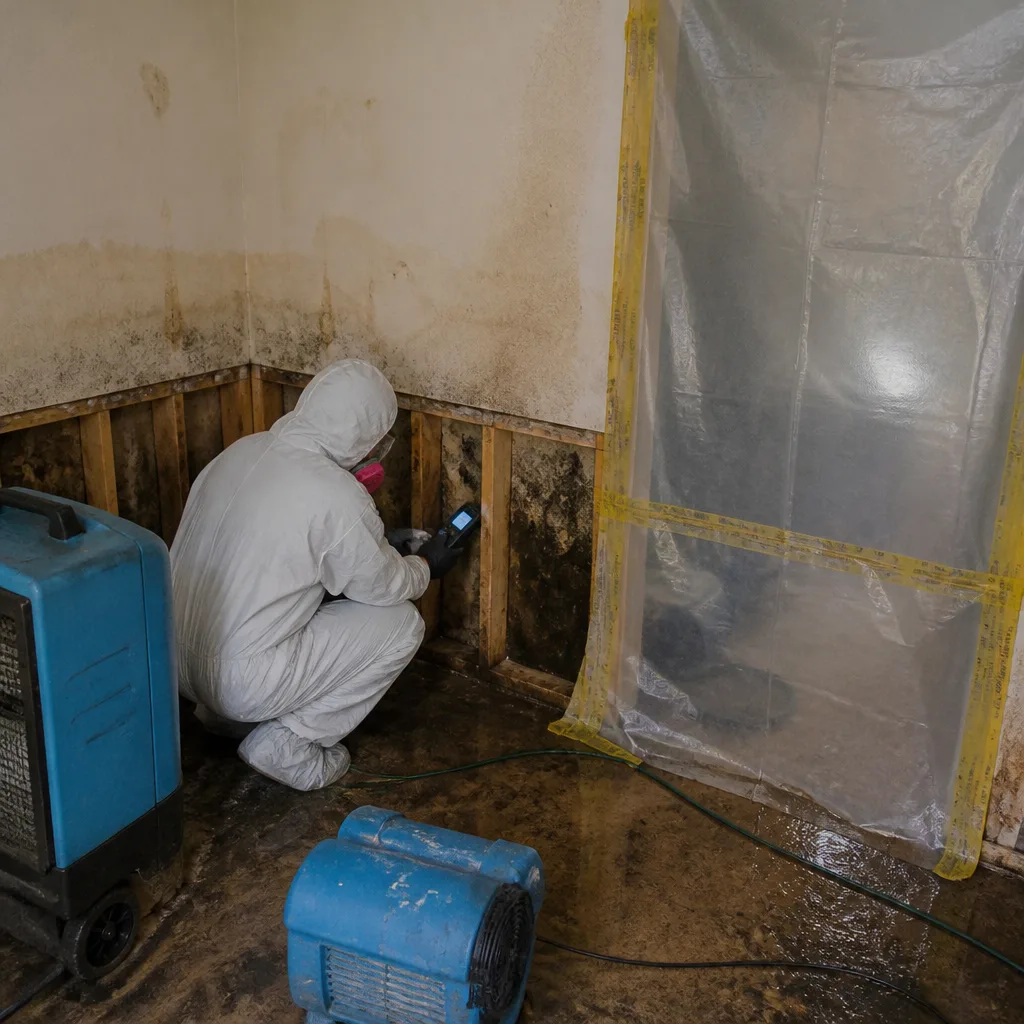 Before
 After
After