
Last updated October 16, 2026
 Water damage drying
 Fire & smoke cleanup
 Mold remediation
 Storm response
 Sewage cleanup
 Reconstruction
Free visual inspection and a written scope of work before any mitigation begins - photos, moisture readings, and drying logs go in your claim file
The scope we write is the scope we bill. Anything new gets shown to you, in writing, before we touch it.
Get your free estimateWater Damage Restoration Maintenance Checklist for San Diego Homeowners
The average San Diego homeowner discovers a slab leak through a water bill spike, not a wet floor. By the time the bill arrives, moisture has typically been migrating through the concrete for 30 to 90 days, feeding mold behind baseboards and quietly delaminating flooring. This guide gives you a San Diego-specific maintenance routine that catches water damage at the stage where a $40 part fixes the problem, not the stage where a $14,000 restoration does.
Restoration work we handle
Quick Answer
A San Diego water damage prevention checklist needs monthly attention to four things: your water meter’s leak indicator, salt-corroded supply lines within two miles of the coast, the three appliances that fail most often here (dishwasher supply lines, water heater TPR valves, refrigerator ice maker lines), and slab-specific warning signs like efflorescence and grout deterioration. Spend 15 minutes a month on these checks and keep a photo log of vulnerable areas for insurance documentation.
Table of Contents
- Monthly Inspection Points for Slab-on-Grade San Diego Homes
- The 15-Minute Water Meter Leak Test
- Coastal vs. Inland: Why Your Zip Code Changes the Checklist
- The Three Appliances Behind Most San Diego Water Damage Claims
- Building a Before-and-After Photo Baseline for Insurance
- San Diego’s Seasonal Water Damage Rhythm
- Common Mistakes to Avoid
- When to Call a Professional
- Frequently Asked Questions
- The Bottom Line
Monthly Inspection Points for Slab-on-Grade San Diego Homes
Most San Diego homes built after 1960 sit on concrete slab foundations. That matters because a slab leak doesn’t announce itself with a puddle. The water travels through the concrete, wicks up into drywall, and shows up as a warm spot on the floor or a spike in your water bill. Here’s what to check monthly, room by room.
Start with the baseboards. Walk every room and look for discoloration, swelling, or a subtle darkening at the bottom edge of the drywall. In Clairemont and Allied Gardens, where slab homes dominate, we regularly see baseboard staining as the first visible sign of a slab leak that started months earlier. You’re looking for any change from the normal color, even a faint tea-like stain.
Next, check tile and grout lines. In slab construction, subsurface moisture pushes up through the concrete and reacts with tile adhesive. The result is efflorescence: a white, chalky powder on grout lines or tile edges. It’s salt being deposited as water evaporates through the slab. Cracking or crumbling grout in the middle of a floor, away from walls and furniture, is another red flag. Grout doesn’t fail in random patches unless something underneath is moving or wet.
Finally, check exposed copper and galvanized pipes in garages, under sinks, and at the water heater. Look for green or white crust at joints, which indicates slow corrosion. In San Diego’s hard water environment, pinhole leaks in copper pipe are common around the 20-year mark. Catching a pinhole leak before it becomes a full rupture is the difference between a $300 plumbing repair and a $6,000 floor restoration.
- Walk all baseboards monthly, running your hand along the bottom edge for dampness or soft spots.
- Scan grout lines for efflorescence, crumbling, or staining, especially in central hallways and kitchens.
- Inspect all exposed pipe joints for green or white mineral crust.
- Note any warm spots on tile floors in winter, when slab leaks become easier to feel.
The 15-Minute Water Meter Leak Test
Every San Diego home has a water meter, usually near the street in a concrete box marked “WATER.” Reading it correctly is the single most effective leak detection tool you own. The test takes 15 minutes and catches leaks you cannot see: slab leaks, irrigation line breaks, and slow toilet flapper failures. Here’s the step-by-step.
First, turn off all water inside and outside: faucets, irrigation timers, ice makers, water softeners. Confirm nobody in the house uses water during the test. Open the meter box with a screwdriver and wipe the glass. Find the small dial or triangle on the meter face, often called the leak indicator. If that dial is spinning with all water off, you have a leak between the meter and your house, or inside the house somewhere.
Second, write down the numbers on the meter. Most San Diego meters read in cubic feet, with every digit representing 7.48 gallons. Leave all water off for exactly 15 minutes. Re-read the meter. If the numbers changed, you’re losing water at a steady rate. A movement of 0.01 cubic feet in 15 minutes equals roughly five gallons a day. A slab leak often moves 0.05 to 0.15 cubic feet in that window.
Third, isolate the leak. Turn off the main shutoff valve where water enters your house. Re-check the meter. If the dial is still moving with the house valve off, the leak is in the buried service line between the meter and your house, which is your responsibility as the homeowner. If the dial stopped, the leak is inside the house: check toilets first, then irrigation, then slab lines.
- Turn off all water-using fixtures and appliances; confirm no irrigation cycle is running.
- Open the meter box, wipe the glass, and locate the small leak-indicator dial or triangle.
- Watch the indicator for 30 seconds; movement means active leakage.
- Record the full meter read, wait exactly 15 minutes, and record again.
- Any change in the read means a leak; isolate by shutting the house main valve and re-testing.
San Diego city water bills are bimonthly, which means a slow leak can run for eight weeks before you notice anything unusual on paper. Doing this test monthly closes that gap entirely.
Coastal vs. Inland: Why Your Zip Code Changes the Checklist
San Diego’s climate is mild, but it’s not uniform. If you live within two miles of the ocean, in Ocean Beach, Point Loma, Pacific Beach, or La Jolla, the salt-laden marine air accelerates corrosion on exposed metal fixtures at roughly double the inland rate. What lasts 20 years in Rancho Bernardo or Poway might fail in 10 years in Mission Beach. Your checklist has to reflect that.
Coastal homeowners should inspect washing machine supply hoses every three months and replace them every three years regardless of appearance. The braided stainless steel lines fail at the crimp fittings where salt air has worked its way into the connection. Inland, five-year replacement is generally adequate. Same logic applies to water heater flex lines and angle stops under sinks: inspect quarterly near the coast, twice a year inland.
The corrosion doesn’t stop at hoses. Exposed copper pipe on exterior walls, especially on west-facing sides that catch the prevailing sea breeze, develops pinhole leaks from salt deposition. If your coastal home has copper pipe exposed in a patio or garage, look for green spotting every month. Once green appears, the pipe wall has thinned enough that replacement is smarter than repair.
Humidity is the other coastal factor. Homes within a mile of the beach regularly see indoor humidity above 60 percent, which supports mold growth on any damp surface. A $30 hygrometer from a hardware store should sit inside your coastal home year-round. If it reads above 55 percent consistently, run a dehumidifier. This is also why mold remediation in San Diego is a recurring need in coastal neighborhoods, even without a water leak: the ambient moisture alone can be enough.
- Within two miles of the coast: replace braided supply lines every 3 years, inspect quarterly.
- Inland San Diego: replace supply lines every 5 years, inspect twice a year.
- Coastal homes: keep a hygrometer indoors and act when it reads above 55 percent.
- Inspect exterior copper pipe on west-facing walls monthly if you’re near the beach.
The Three Appliances Behind Most San Diego Water Damage Claims
In our experience across San Diego, three appliances account for the majority of residential water damage: dishwasher supply lines, water heater temperature and pressure relief valves, and refrigerator ice maker lines. Each fails in a predictable way, and each has a specific inspection that takes under five minutes.
Dishwasher supply lines. The failure point is almost never the hose itself. It’s the connection at the shutoff valve under the sink, where mineral buildup from San Diego’s hard water causes the rubber gasket to degrade and fail. Check under the sink monthly: run the dishwasher, then feel the supply line connection for any moisture. Any dampness at that fitting means the gasket is failing, and you should replace the line now, not later. A dishwasher supply line failure typically happens when you’re asleep or at work, maximum damage window.
Water heater TPR valves. The temperature and pressure relief valve on top of your water heater is designed to release water if the tank overheats or over-pressurizes. In San Diego’s hard water, these valves get crusted with mineral scale and either fail to close, creating a slow leak, or fail to open, creating an explosion risk. Test the valve twice a year: lift the lever halfway and let it snap back. Water should flow briefly and stop completely. If it doesn’t stop, replace the valve. If it’s crusted shut, replace the valve. This is a $30 part and 20 minutes of work.
Refrigerator ice maker lines. Most refrigerator water damage comes from the thin plastic line that connects the fridge to the kitchen water supply. These lines are cheap, prone to kinking, and fail without any warning sign. If your ice maker line is plastic, replace it with a braided stainless steel line this week. The braided line costs about $15. Inspect the connection at both ends every month for moisture. A failed ice maker line can release two to three gallons per minute, and because it’s behind the fridge, the damage spreads under cabinets before you notice anything.
- Dishwasher: check the under-sink supply connection monthly while running a cycle.
- Water heater: test the TPR valve twice a year; replace if it won’t close or is crusted.
- Refrigerator: replace plastic ice maker lines with braided stainless steel immediately.
- All three: photograph any new stain, dampness, or mineral buildup when you find it.
Building a Before-and-After Photo Baseline for Insurance
When water damage happens, your insurance company asks for evidence of the before state: what the area looked like before the leak. Most homeowners don’t have that. They have phone photos of their kids and their vacations, not their water heater closet. Building a photo baseline is a 30-minute project that pays for itself the moment you need to file a claim.
Photograph every vulnerable area in your home: the water heater closet, the under-sink cabinet in every bathroom and the kitchen, behind the refrigerator, the washing machine connections, and the irrigation manifold. Take wide shots and close-ups of the supply lines and connections. Do this twice a year, and after any repair or replacement.
Store these photos somewhere you can find them. A cloud folder named “Home Baseline” with subfolders by room works. The insurance claim process moves faster when you can show the adjuster exactly what the area looked like before the failure, and exactly what it looks like after. This also applies to any water damage repair in San Diego work: document before, during, and after.
One more documentation tip: when you replace a supply line or valve, photograph the receipt next to the new part. That record establishes when the component was replaced, which is almost always a question during a claim. The adjuster wants to know if you maintained the home properly. A dated photo of a new braided line answers that question before it’s asked.
- Photograph water heater, all under-sink cabinets, behind the fridge, and the washing machine hookup.
- Include close-ups of every supply line, valve, and connection point.
- Repeat the photo set every six months and after every repair or replacement.
- Store in a cloud folder labeled by room and date; share access with your spouse or partner.
- Photograph receipts next to new parts when you replace anything.
San Diego’s Seasonal Water Damage Rhythm
San Diego doesn’t have a winter in the frozen-pipe sense, but it does have a predictable seasonal pattern of water damage. Understanding it helps you time your maintenance where it matters most and avoid the peak damage season for your specific home type.
November through February is the rainy season, and it’s also when slab leaks spike. The reason is thermal cycling: San Diego’s daytime and nighttime temperatures swing more sharply in winter, and concrete slabs expand and contract with those swings. A hairline crack in a copper line under the slab opens slightly wider each cycle, and by January, the leak has become significant. Winter is also when irrigation systems get turned down or off, which makes a meter test simpler: there’s less competing water use to confuse the reading.
Late summer and early fall bring a different problem. Santa Ana conditions strip the air of moisture and dry out the soil around your foundation. The clay-heavy soil in east San Diego County contracts, which can stress slab plumbing and cause pipe joints to shift. August through October is when we see irrigation line breaks and exterior hose bib failures cluster. Check outdoor spigots and exposed irrigation backflow valves during these months.
Spring is the best time for your annual comprehensive check. The rains have stopped, the soil is stable, and any winter leaks have had time to show visible evidence. Schedule your half-year photo baseline in March or April, test every TPR valve, and run the meter test twice within a week to catch any slow leak that’s been hidden by winter irrigation changes. For the full restoration picture in San Diego, see water damage restoration in San Diego.
- Winter: run the meter test monthly, watch for warm spots on slab floors.
- Late summer: inspect outdoor spigots, irrigation lines, and backflow valves during Santa Ana months.
- Spring: do the full annual inspection, replace aging supply lines, and refresh your photo baseline.
- After any heavy rain: check exterior walls, window wells, and the garage slab edge for moisture staining.
Common Mistakes to Avoid
These are the patterns we see repeatedly across San Diego homes, and avoiding them prevents the majority of avoidable water damage.
- Ignoring a slowly rising water bill. San Diego bills bimonthly, and a 10 percent increase without any lifestyle change is almost always a leak. Run the meter test before you look for anything else.
- Assuming a slab leak will show on the floor. Slab leaks in San Diego often travel through the concrete and up the walls, showing as baseboard staining or mold behind furniture before any floor damage appears.
- Replacing supply lines only when they leak. Braided stainless steel lines fail at the crimp without warning, especially near the coast. They are wear items with a replacement interval, not permanent fixtures.
- Placing furniture against exterior walls in coastal homes. This blocks airflow and creates a condensation zone on cool wall surfaces, which supports mold growth without any plumbing leak at all.
- Testing the water heater TPR valve by forcing it fully open. On an older valve, that can unseat mineral deposits and create a leak that won’t stop. Lift halfway, let it snap closed, and replace if the flow doesn’t stop completely.
- Waiting to file an insurance claim until the damage is cleaned up. Document everything first. Insurance adjusters need to see the damage, and you need your photo baseline to show the before state.
- Using the wrong dehumidifier for the space. A small dehumidifier in a 2,000-square-foot coastal home won’t keep humidity below 55 percent, and you won’t know because you never measured. Match the unit’s pint rating to the square footage.
When to Call a Professional
Some water damage situations are maintenance problems. Some are emergencies that need professional-grade equipment and trained eyes. Call a professional if you find a warm spot on your slab floor that persists for more than a day, if your meter test shows significant water loss you can’t trace, if you see mold growth covering more than 10 square feet, if you have standing water in any room, or if any water event touched drywall or flooring rather than tile or concrete. These are the situations where psychrometric drying, which tracks the air’s moisture level so we know when your home is truly dry, not just surface-dry, becomes necessary. Wendell Restoration San Diego offers free estimates in San Diego – call (858) 988-6639 and you’ll get a written price before any work starts, with a live arrival time you can track on your phone.
Frequently Asked Questions
Run the 15-minute water meter test monthly, inspect supply lines and appliance connections monthly, and do a full home inspection including TPR valve testing and photo baseline refresh twice a year.
Monthly checks catch leaks that bimonthly San Diego water bills can’t. Call (858) 988-6639 if your meter test shows movement you can’t trace.
Yes. San Diego’s hard water leaves mineral scale on valve gaskets, supply line fittings, and water heater components, which accelerates gasket failure and causes slow leaks that go unnoticed until damage accumulates.
Hard-water scale is the reason we recommend supply line replacement every three to five years. If you’re seeing crusted mineral buildup on connections, get a free estimate from Wendell Restoration San Diego.
Yes. Salt air within two miles of the ocean corrodes metal supply lines and pipe joints roughly twice as fast as inland air, and higher ambient humidity supports mold growth on surfaces that would stay dry inland.
Coastal homeowners need a shorter replacement interval on supply lines and consistent dehumidification. For a full preventive checklist, see water damage restoration in San Diego.
Shut off the water at the main valve or fixture shutoff, move valuables out of the affected area, photograph everything immediately, and call a water damage professional before removing any wet materials.
The first few hours determine how much drying is needed and whether mold takes hold. Wendell answers every call with a live person, 24/7, at (858) 988-6639.
Most policies cover sudden and accidental water damage from plumbing failures, appliance ruptures, or storms, but not damage from gradual leaks, lack of maintenance, or pre-existing corruption.
Document everything with your photo baseline before and after any water event, and contact your adjuster promptly. For the restoration side, water damage repair in San Diego is our specialty.
Minor, contained water damage restoration in San Diego typically ranges from $1,200 to $4,000, while slab leaks with mold remediation and full drying often run $6,000 to $18,000 depending on square footage and affected materials.
Wendell puts the price in writing before any work starts, and you pay the number on the screen, not a penny more. Call (858) 988-6639 for a free, no-hassle estimate.
The Bottom Line
Water damage in San Diego rarely announces itself. The slab leaks run silent for months, the salt air eats supply lines from the inside, and the hard water cruds up the valves that should protect you. Your defense is a monthly 15-minute routine: read the meter, check the connections, listen to the bills, and photograph everything. When something does fail, you want it caught at the gasket stage, not the gut-and-replace stage. If the routine uncovers damage, or you just want a set of trained eyes on your plumbing connections, call Wendell Restoration San Diego at (858) 988-6639. We’ll give you a written price before any work starts, a live arrival time you can track, and before-and-after photos so you always know exactly what happened in your home.
Written by Blake Sorensen, Owner at Wendell Restoration San Diego, serving San Diego since 2006.
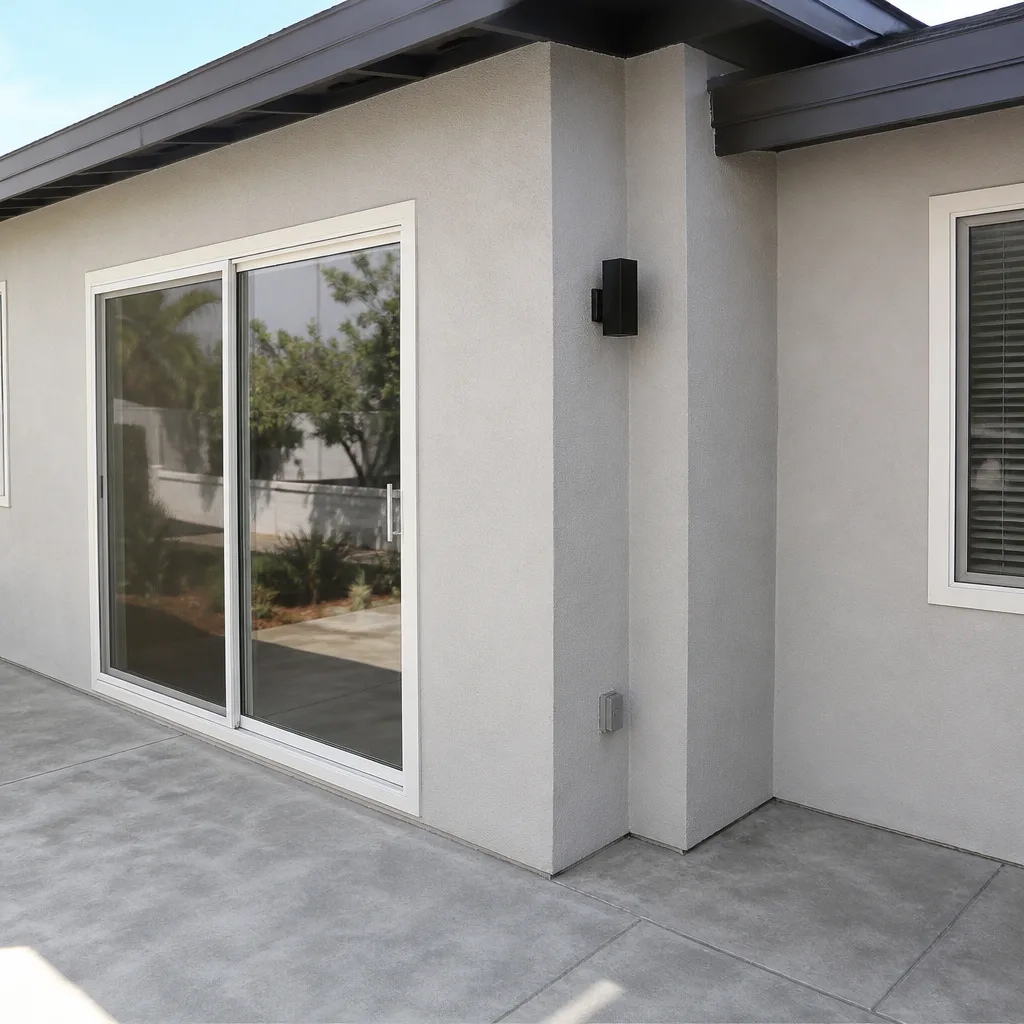
See the difference
 Before
 After
After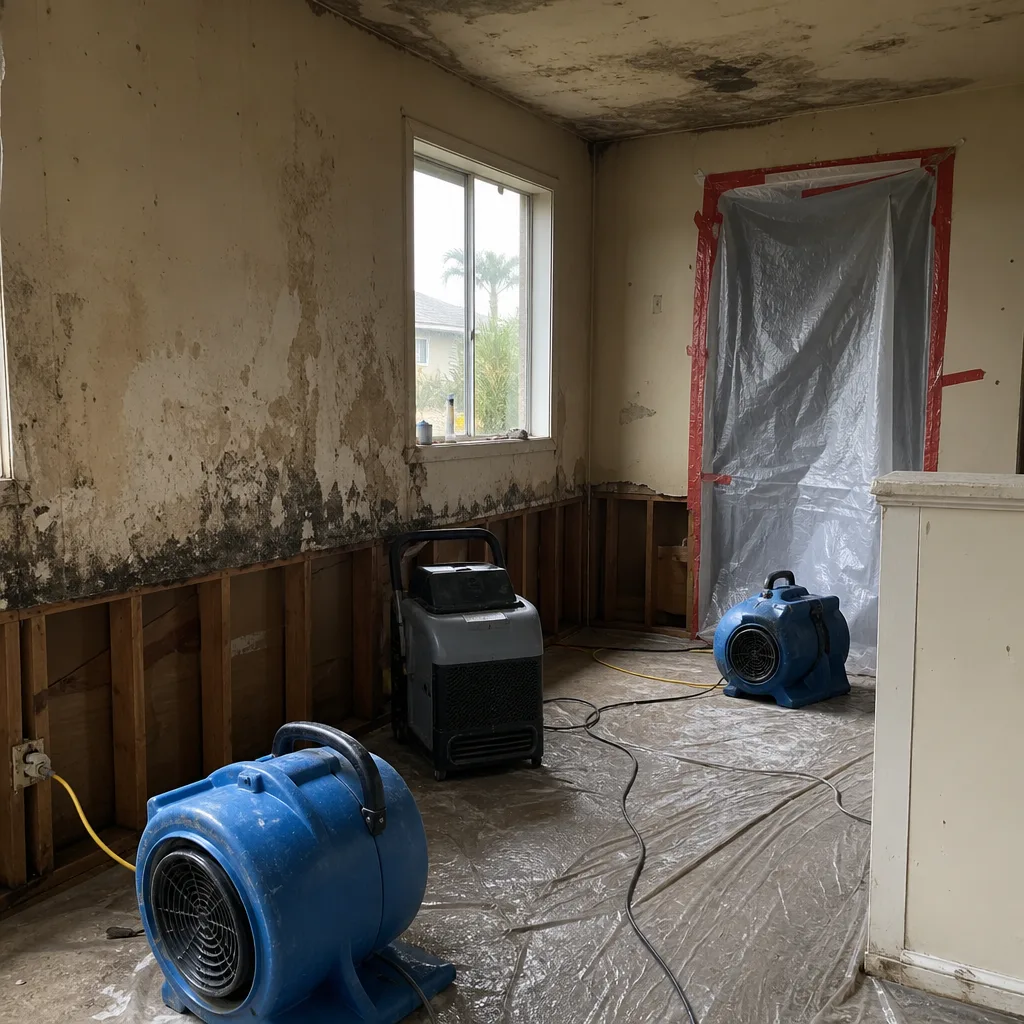 Before
 After
After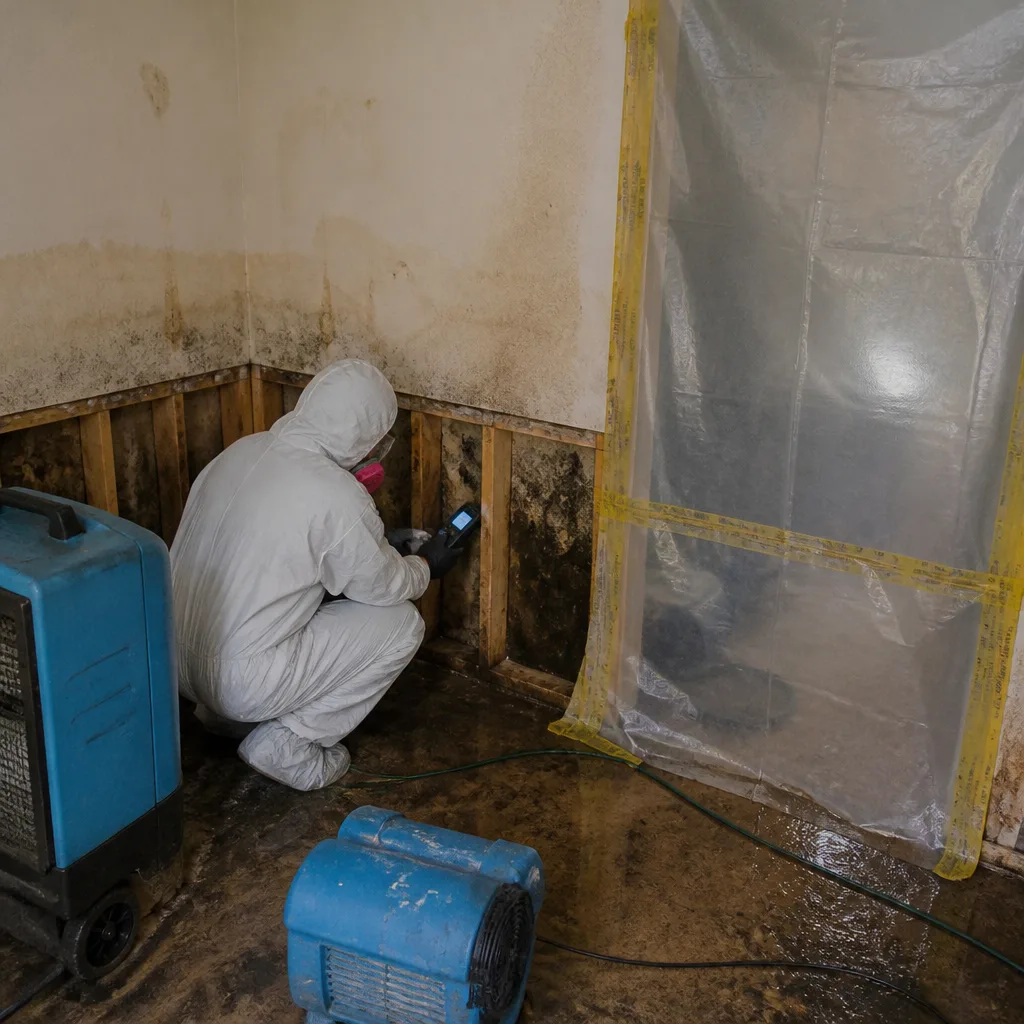 Before
 After
After